When you're asked for more:
How to localize videos embedded on a website?
When you translate and localize websites, at some point your customers will ask you to localize videos as well.
How to proceed in such a case?
Displaying YouTube or Vimeo videos on a website is quite a common strategy to capture user’s attention. But it might be a nightmare for localizers and translators.
So how can you help your customers take their videos to the international level?
Is referring them to a ‘video localization specialist’ the only solution?
Definitely not!
Have a look at these two strategies for localizing YouTube videos:
The Lazy Scenario
1. Ask your client to provide you with the video transcription.
2. Localize the text in your preferred tool.
3. Then deliver the localized script and make sure your customer knows how to proceed.
4. If required, review the implemented subtitles, check if the time codes are correct and the text isn’t too long.
5. Consider the project completed.
The Pro Scenario
1. You can start as above, but to showcase your localization super powers suggest your client that you’ll also add the subtitles to the video to make sure everything runs smoothly.
2. If there’s no script available, you will have to type what you hear and then translate. If you whish so, you can type your text directly in YouTube Studio, which brings us to the essence of this point: ask your client for the login to their YouTube Studio. You’ll need it to add the subtitles with the right time codes and to check if everything looks good.
3. If your client agrees to give you temporary access to YouTube Studio, sign in and let the adventure begin:
- In the left menu choose Subtitles.
- Select the video.
- Select Add language.
- Add a localized title and description in the Title and description column.
- In the Subtitles column select Add and either upload a CSV file (with or without timing) with your subtitles (that you’ve previously translated in your preferred tool) or hit Type manually and manually type the subtitles for every source string.
- Make sure your subtitles fit the right time codes. Luckily, the Subtitles creator tool in YouTube Studio works like a charm and makes this process easier.
- Hit Publish.
4. Voila! You’ve added and published your first subtitles.
Remember to review the subtitles several times to make sure that the end users will enjoy your localization results as much as you’ve enjoyed your video localization process.
Now, next time your customer asks you for help with a YouTube video, you’ll know where to start!
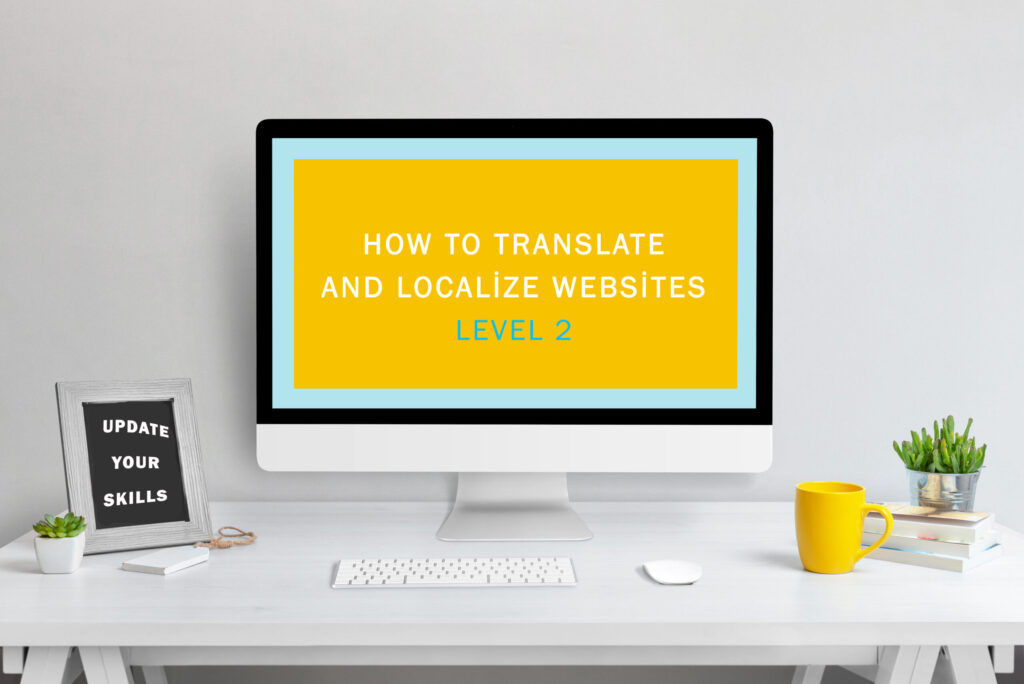
P.S. If you want to see the Pro Scenario in action or learn how to add subtitles to videos hosted on Vimeo, have a look at my online localization courses.